Quake Mapping: A Guide to Creating Your First Map!
A simple overview of Quake mapping techniques and tools.
5/14/2025 — 1 minute read
Quake Mapping Overview
Quake mapping is one of my favorite things to mess around with in my spare time. The process of blocking out a level, adding detail & lighting, and experimenting with gameplay mechanics is a lot of fun.
This guide will cover the basics of mapping for Quake 3 Arena, as well as some advanced techniques and tips to help you create your own maps.
Before You Start
Ensure you have Quake 3 Arena installed on your computer. You can purchase it on platforms like Steam or GOG. The game files are necessary so that the editor can compile and run your maps (not to mention, you will be able to use Q3 assets in your maps!)
Getting Started
Before you can start mapping, you’ll need to install a map editor. There are several options available, but this guide will focus on NetRadiant — a popular and powerful editor for Quake 3 Arena (as well as other Quake versions, Warsow, and more).
Installing NetRadiant
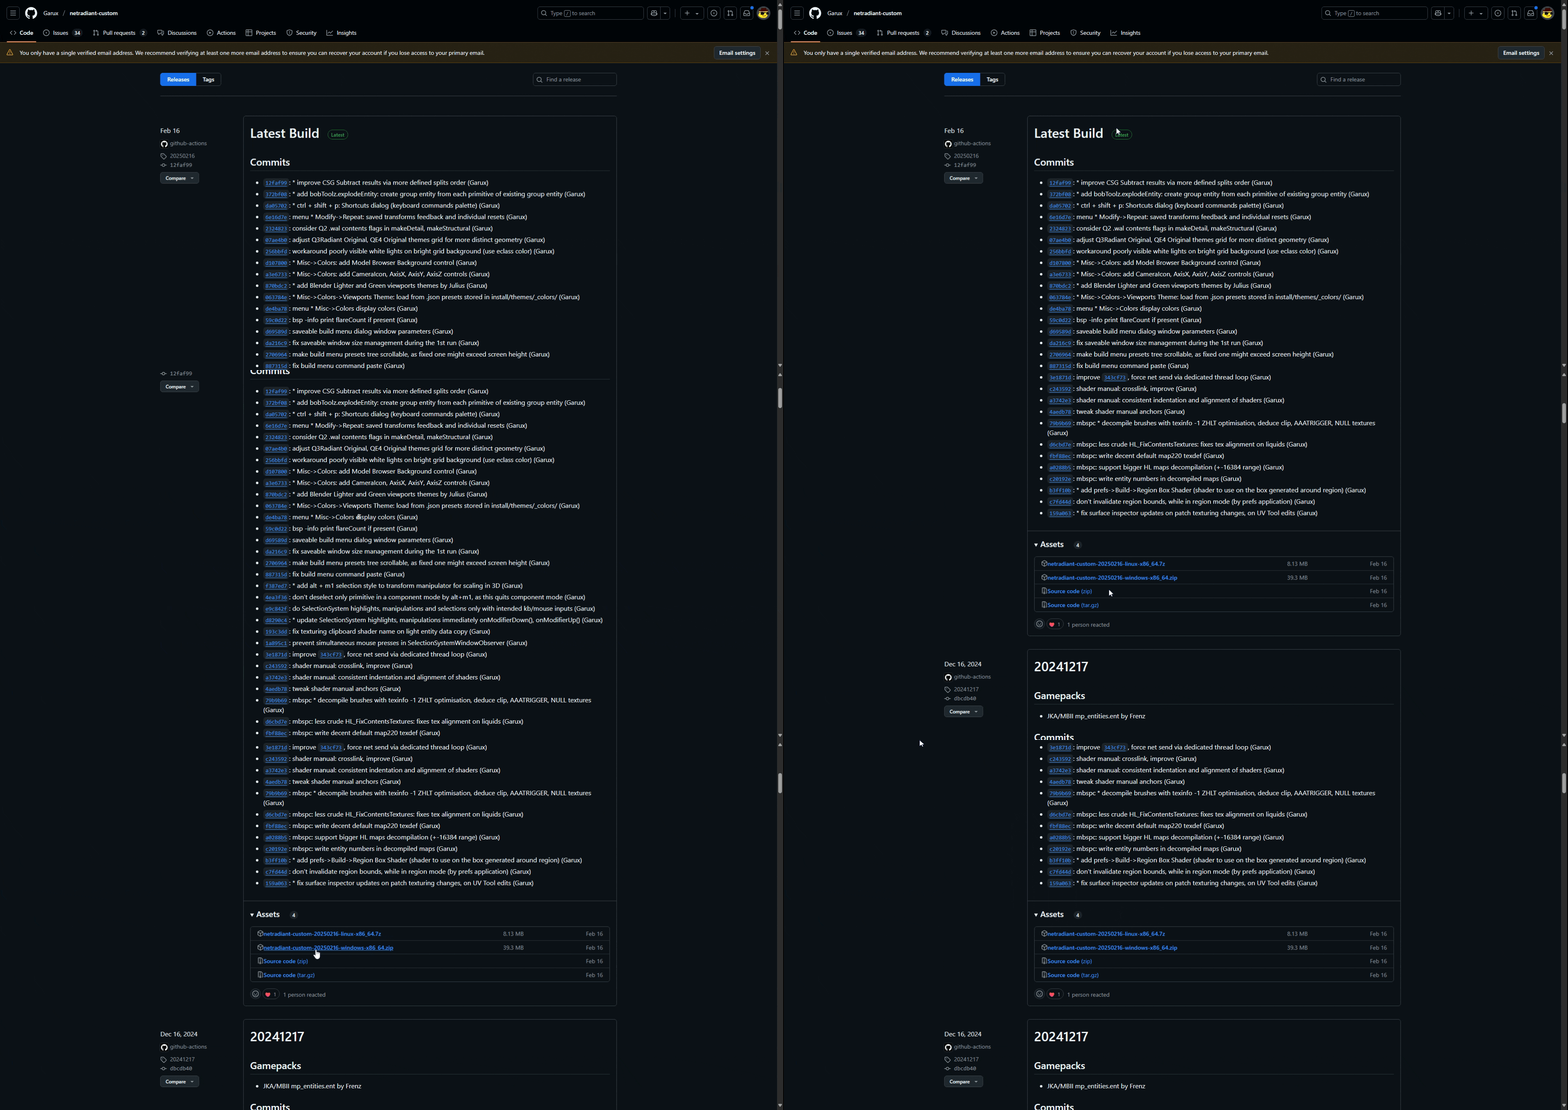
- Download the latest version of NetRadiant from the GitHub releases page

- Extract the downloaded archive to a location of your choice.
- Run the appropriate executable for your operating system (e.g.,
radiant.exefor Windows,radiantfor Linux);